

Vintage Care Tips: How to Clean and Maintain Antique Wood Furniture Like a Pro
Wooden furniture brings a beautiful sense of rustic flair into any home. Owing to its organic properties, wood is a superbly versatile material that gives home décor a solid connection to the natural world, making it especially ideal for the bohemian, Scandinavian and farmhouse trends.
Wood is also the original furniture material. Long before metal and leather, wooden décor has been a staple of the home for thousands of years. Some archaeologists date our use of wooden furniture back to the late Palaeolithic or early Neolithic periods, over 30,000 years ago!
This heritage provides our antique wooden décor with character, charm and a rich sense of history. The only trouble is that vintage, antique wooden furniture needs more TLC than comparatively modern genres, such as the industrial trend.
Without the necessary care, antique wooden surfaces pick up oily fingerprint stains, mildew, dust and dirt, leaving you with a relic that really looks its age (and not in a good way!).
We’ve compiled a short vintage wooden furniture care guide, giving you some quickfire tips to consult when giving your décor a spring clean without doing something that could damage the finish of the wood.
Grab your marigolds and let’s get cracking!

Credit - MaidForYou
The Finish Test
First thing’s first. Before you get stuck into the elbow grease, you need to identify the finish of your wooden furniture. This is key as it dictates the direction of your restoration process.
If you don’t know the finish, start by isolating a small area of the piece you are working on that isn’t on display (such as the back of a chair leg or underside of a tabletop).
Dip a cotton swab into some denatured alcohol (wood spirit or methylated spirit) and gently rub it on the isolated area. If the finish dissolves, it’s probably shellac. Shellac finished wood is harder to clean and will likely require refinishing to restore it properly.
If the area doesn’t dissolve, the wood probably has an oil, varnish, polyurethane or lacquer finish. This type of finish should be much easier to clean.

Credit – Custom Wood Carving
General Cleaning
Ok, now it’s time to get stuck in! You’ll need to gather a few essentials before you start, namely:
- Some oil soap (Murphy’s Oil Soap is a good choice).
- Two clean, soft rags – one for cleaning, one for drying.
- A fork for mixing.
- A mixing bowl.
- A measuring jug or cup.
- Rubber gloves/marigolds (optional).
- First, put on your marigolds and pour 30ml of oil soap into around 180ml of water (a ratio of 1:6) in your mixing bowl.
- Next, use your fork to mix the soap and water together.
- Place one of your dry, soft rags into the bowl and press down.
- Take the rag out of the bowl and ring it dry.
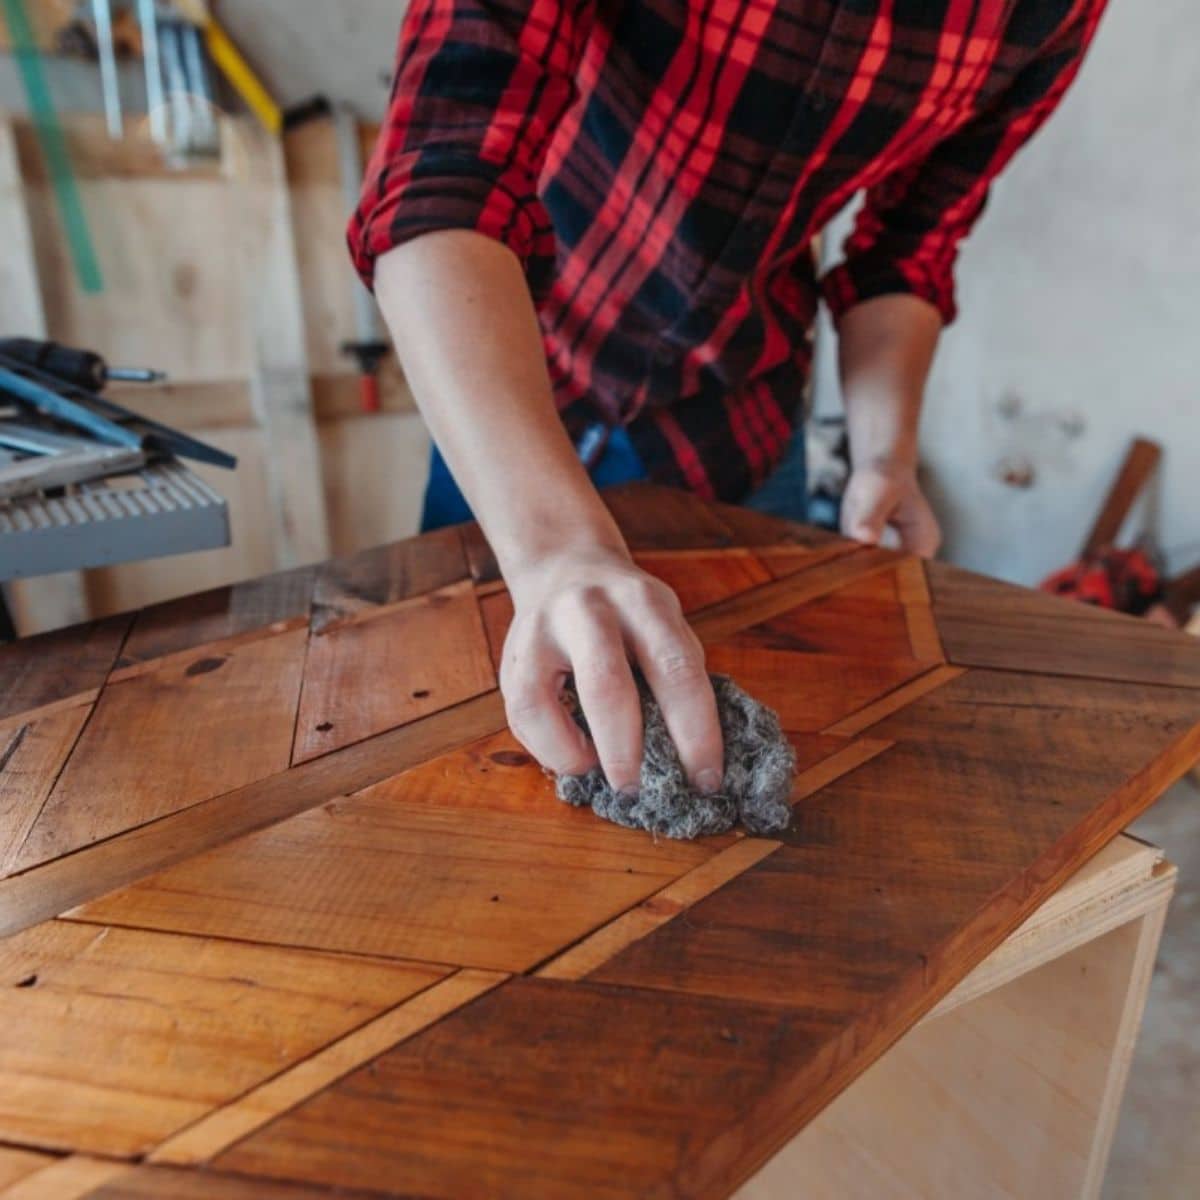
- Apply the rag along the grain of the wood, using small circular motions as you work along the entire length of the furniture.
- Repeat the process across the whole piece of furniture, then use your second dry rag to wipe off all the moisture.
- Rub the dry cloth in small circles across the entire piece, soaking up all the moisture.
- If the wood is still damp, use another fresh dry cloth to repeat the drying process until bone dry.
Once you’re done, you should notice a big difference in the finish. Try taking some before and after pictures to fully appreciate the cleaning process!
A high-quality wooden surface such as our mango wood Walter Bedside Table should come up like a charm and really bring out the detail in the grain.

Waxing
Waxing the wood after you’ve cleaned it isn’t essential, but it’s a key part of the maintenance process if you want your furniture to remain clean and give it a layer of protection going forward.
You can apply furniture wax over the wood and then buff it up by moving a soft dry rag across the wood grain – again, do this in small circular motions.

Credit – Woodwork Details
Mould/Mildew Cleaning
If your antique wood needs more than a spruce up, there’s a chance it has a mildew problem. Mildew is a form of fungus and can develop on wooden furniture stored in moist or humid rooms since fungus thrives in damp environments.
If you don’t stop mould and mildew in its tracks, it can infect the wood further and eventually leave it unusable. It often begins as a small white or grey colony of spores, but if left untreated, this can develop into brown and black spots (black mould) all over the surface.
Before starting the treatment, you should identify and eliminate the source. You may need to move your existing furniture to a drier location or even call in a plumber if you have an issue with water leakage to stop the source of moisture.
You’ll need more specialised equipment for a mildew clean, as you’re working with potentially hazardous spores that aren’t healthy to breathe in.
Grab yourself the following:
- Distilled white vinegar.
- An air mask.
- Eye goggles.
- Several soft cotton cloths/rags.
- Linseed oil/olive oil/vegetable oil.
- A fork for mixing.
- A mixing bowl.
- Rubber gloves/marigolds.
- Give the item of furniture a pre-clean by rubbing it over with a soft rag to get rid of dust and debris.
- Mix the oil (linseed, vegetable or olive, your choice) and distilled white vinegar into the mixing bowl in an equal ratio (1:1).
- Using a clean, dry rag, dip into the mixture carefully and begin rubbing it along the wood grain of the furniture in small circles.
- Finally, clean away the mould and mildew that will now have come loose with a clean, dry rag to finish off.

Credit – Geo Barter
White Spirit Cleaning
If the previous cleaning techniques weren’t thorough enough for you, some vintage wooden furniture can be treated with white spirit to give a sparkling clean finish.
Be wary, however – white spirit is harsh, and we don’t recommend using it on any type of wood without checking its suitability beforehand as it can damage some finishes. As always, do a small spot test in advance of a deep clean to ‘test the water’.
You’ll only need a soft rag or cloth for this process, along with some white spirit, of course.
- Gently apply a small drop of white spirit to the rag.
- Before it has the chance to evaporate, quickly apply the spirit with the rag across the wood grain in small circles.
Processes to Avoid
Along with these tips and tricks, there are some elemental mistakes that you must avoid to protect the wood.
Namely, NEVER ‘wash’ wooden furniture, especially with normal soap and water. Wood can warp and buckle when wet, so applying soapy water is a recipe for disaster.
Additionally, any product that needs heavily diluting before use is probably too strong – the wood could become damaged if it reacts badly with the chemicals, so don’t use anything like this before consulting a furniture expert beforehand.
The last thing you want to do is ruin your beautiful wooden chair, table, nightstand or ornament when all you wanted was to give it a spring clean!
We hope these tips have been helpful for you, and we wish you luck with preserving your vintage wooden décor.
Don’t forget that we have a fantastic range of wooden furniture on the WSG website, from mid-century Directors’ Chairs to mango wood side tables, bedside tables and so much more.
Feel the Love!